ZYBO Development Board
I just received Xilinx's ZYBO educational FPGA development board in the mail from diligent. This is my first venture into anything like digital logic, ASICs or FPGAs and my goal is to become familiar with the workflow using Xilinx's Vivado on Linux and to gain some knowledge concerning the capabilities and limitations of FPGA programming.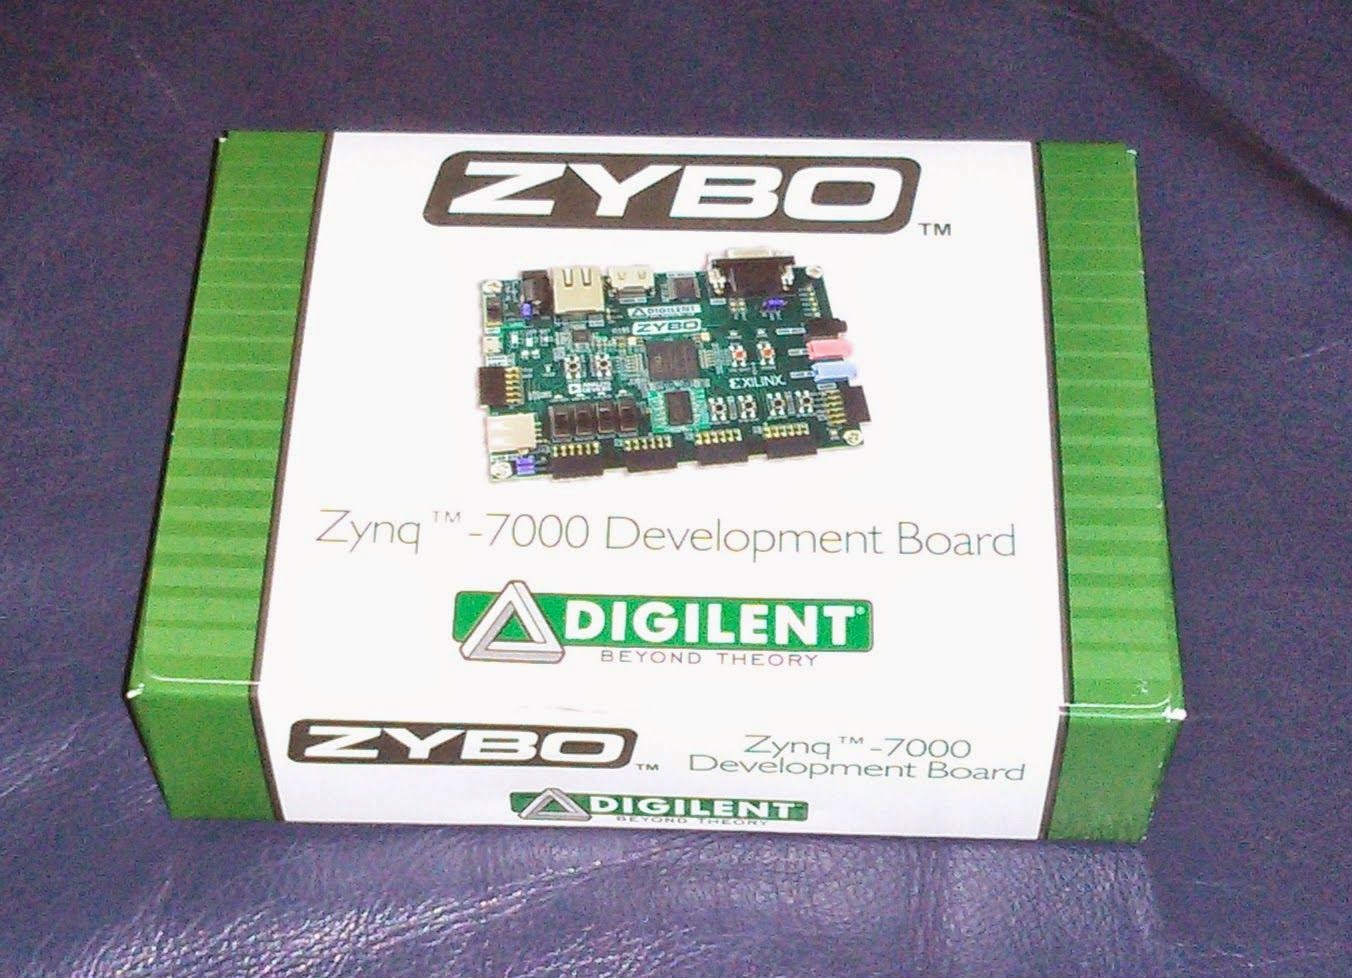 |
| Attractive box containing the ZYBO |
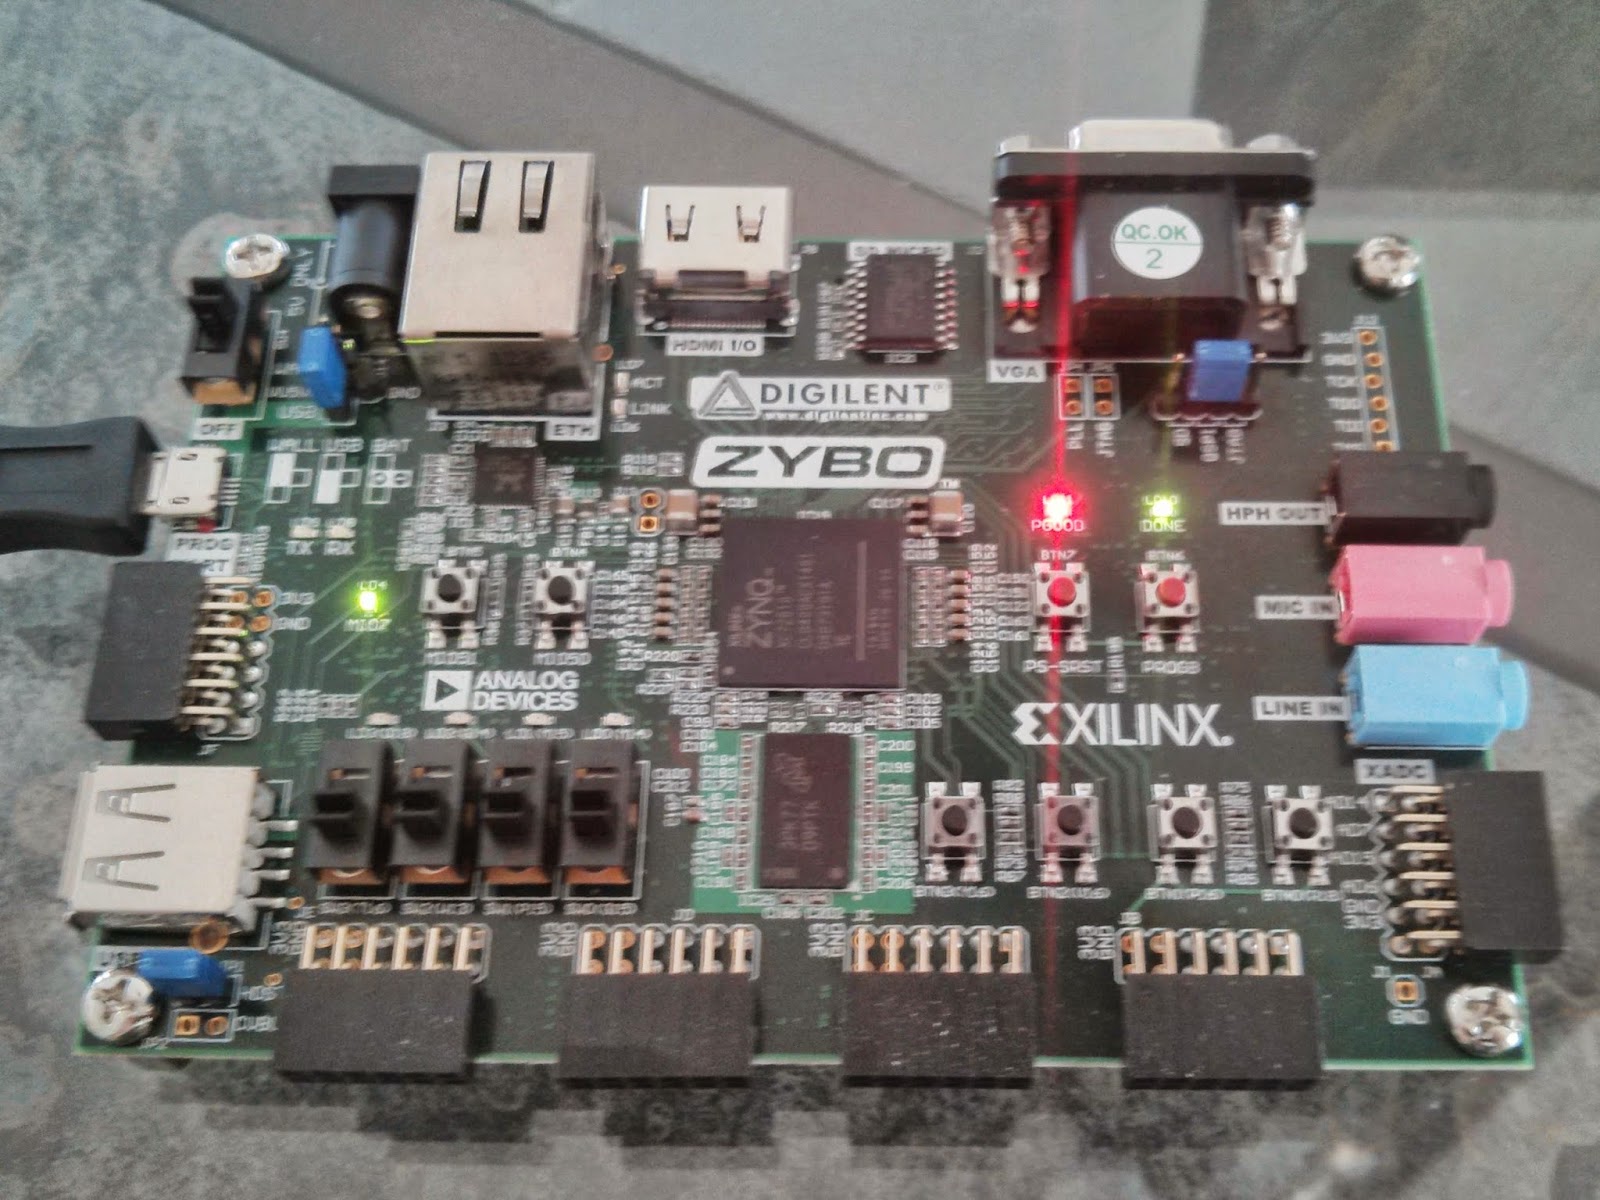 |
| The ZYBO board powered over USB |
Vivado on Linux
I also purchased the accessory kit which came with a Vivado Design Suite voucher - and while I did get this to work, it wasn't seamless. I am running the Fedora operating system with Linux kernel version 3.13.9 on an i5 Asus Zenbook. The hard drive on this laptop is only 128 GB so I installed Vivado onto a USB drive. I wasn't able to get Xilinx's downloader to work on any linux machine, but I obtained a direct link (which expired already) to the 7 GB file and used curl with the "-C -" option to allow for interruptions.
So, I untar'd this file and ran the xsetup script as root, installing everything into the directory above, but still on the USB drive. It complained about not being able to install some drivers, but in the end I was able to ignore this.
I found out that Xilinx includes nice environment setup files only after I spent a long time writing my own. There seems to be only one that matters and I added this to my .zshrc file:
alias vivado="bash -ilc 'source /path/to/Vivado/2013.4/settings64.sh && vivado'"
The license was slightly tricky. I created an account with Xilinx and used their website to obtain a .lic file. It wanted two things at least to identify the computer I would use: the hostname and the ethernet MAC address. So first, in Vivado, I clicked on "Help" -> "Manage License..." A window came up and at the bottom of the "Manage Licenses" tab I saw a hostname and all zeros for the NIC ID. The hostname was the usual "aaa.bbb.ccc" format but the website only accepted the "aaa" part -- it disallowed periods in the hostname. The website license generator was perfectly happy with all zeros for the MAC address. Clicking on "Load License..." I imported the .lic file received from Xilinx and everything seemed to work out fine.
Creating a New Project in Vivado
First off, Java applications like eclipse (what Vivado is based on) have a tendency to get confused when the window is resized. The mouse cursor is somehow offset when I maximize the window, making the program unusable since it is very mouse-centric. The solution was to first move the window to the upper-left corner and then maximize it.
I clicked on "Create New Project" and followed the wizard, creating an "RTL Project" and checked the box for "Do not specify sources at this time." The ZYBO board is still not listed under "Boards," but the part was easy enough to find. The part number is xc7z010clg400 and I chose speed grade "-1" though I was not bothered to look up what this meant.
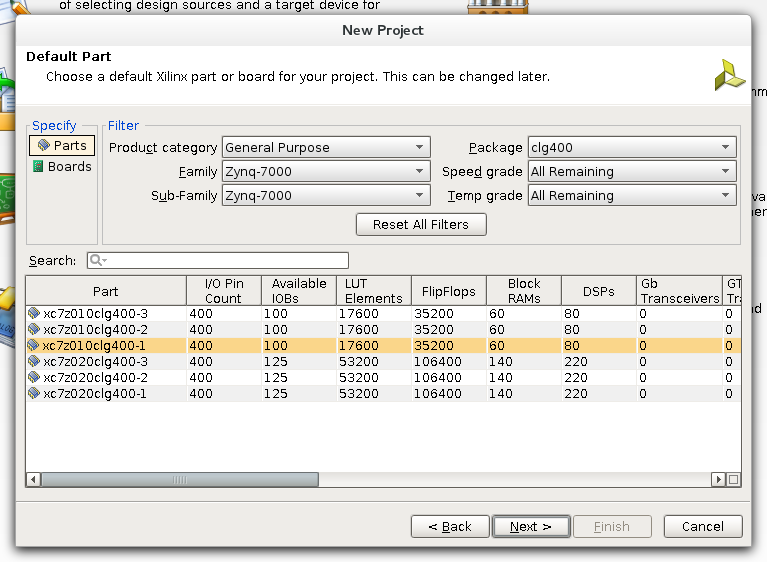 |
| Vivado New Project Wizard Part Chooser |
A Simple Counter in HDL (Verilog)
There are four user LEDs directly connected to the FPGA on the ZYBO. As a "Hello, World." program, I decided to make a clock out of these counting from 0 to 15 using the internal clock on the FPGA. Though one could create a module with inputs and output and connect these to pins using the "Elaborated Design" part of Vivado, there is a better way with the constraints file which can be downloaded from Digilent's website -- you want the master XDC file for Vivado. I clicked on "Add Sources" then "Add Constraints File" and pointed to the downloaded XDC file. I opened this up and searched for "clock" and "led" and found exactly what I was looking for. There are two lines for each pin which must be uncommented, but then the port names can be used directly in the source files.
 |
| Clock pin L16 in the XDC file (uncommented) |
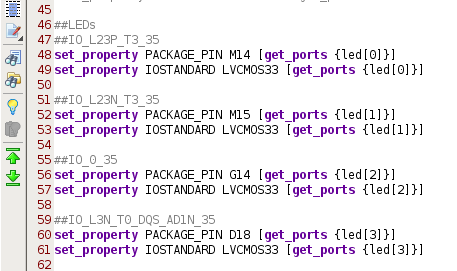 |
| LED pins in the XDC file (uncommented) |
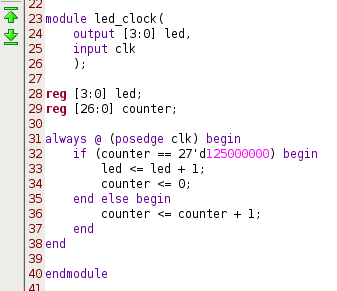
Next, I clicked on "Add Sources" again but this time created a "Design Source." Here is my simple clock done up in verilog. The 125000000 comes from the clock I'm using which is 125 MHz according to the ZYBO reference paper - I wanted the LED clock to update once a second. Notice I used the same names as in XDC file, namely "led" and "clk."
 |
| LED counter using a 125 MHz clock |
Double clicking on "Generate Bitstream" eventually worked -- there were a couple problems here and there, but they were deviations from the steps above. The final step was to push this little gem onto the ZYBO itself.
Programming the FPGA
The old Xilinx ISE program iMPACT is not packaged with Vivado (I lied when I said this was my first experience with FPGAs). Instead, you have to setup a "VCSE Server" running as root which will handle talking to the board. This is simple enough and I find it much preferable to dealing with udev rules or running all of Vivado as root. So, as root I run this alias:
alias vcse_server='source /path/to/Vivado/2013.4/settings64.sh && vcse_server'
After that, I plugged the ZYBO into a USB port on my laptop via the PROG/UART connector on the board and turned it on. The VCSE server didn't show anything yet. In Vivado, I switched to the "Hardware Manager" and clicked on "Open a new hardware target."
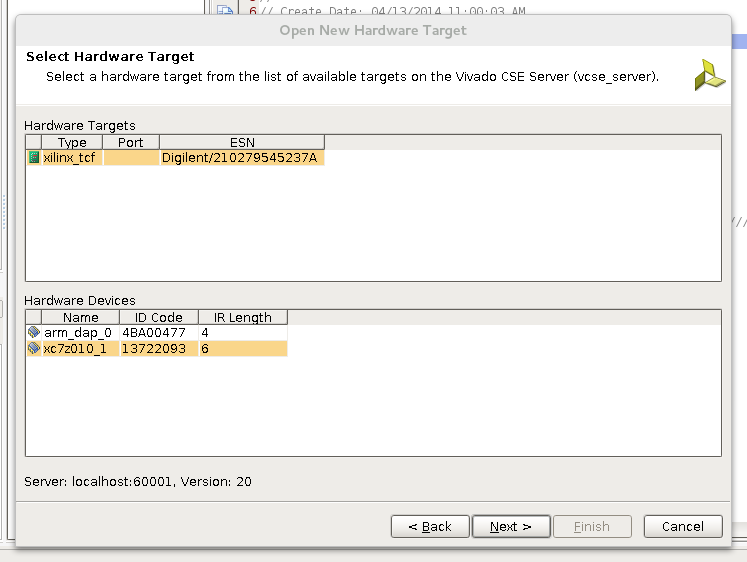 |
| Selecting the ZYBO in the Hardware Manager wizard |
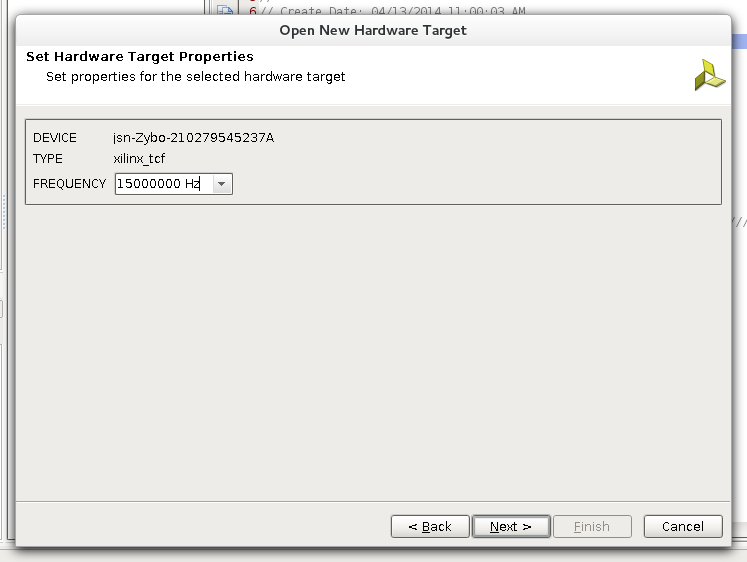 |
| Selecting Frequency |
I left the default frequency of 150 MHz unchanged and finished this wizard. Finally, there was an option to program the device. This took only a moment and the LEDs immediately started to count.
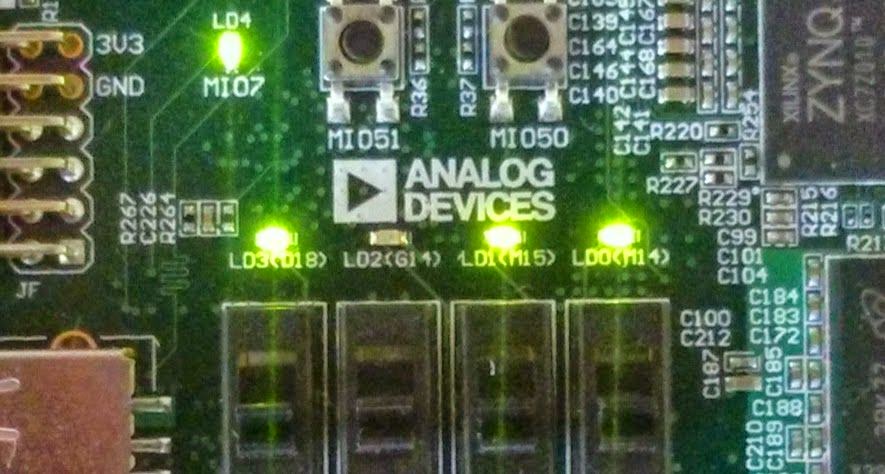 |
| LEDs on count 11 |
Thank you for the tutorial! Coming from ISE, this quick walk-through was helpful.
ReplyDeleteWonderful tutorial. Just two question's. Two newbie questions by the way. First, I was unable to take the appropiate permissions over some NTFS partition to get a succesfull installation on it. I can see that you install it in a USB drive. Any tip?
ReplyDeleteSecond one. Every time I need to write a bitstream to the Zybo I have to start Vivado as root. If I run the code for the VCSE server I can start the server but Vivado's hardware maneger isn't capable of see the Zybo, unless I start as root. Can you be a little more specific about the issue? What yo mean with the .zshrc file? Anything to put in the .bashrc file? (I'm using Mint 15).
Thanks in advance and Thanks a lot for the tutorial.
Thank you! As to your questions, I think permissions are tricky when using a microsoft format mounted on linux - the mounting options may be able to help, but I don't know much more than that since I have been using ext4 for all my usb drives for a long while now.
DeleteSo, I run the VCSE server as root, and Vivado as a user. The hardware manager in vivado can then talk to the server via the hardware manager. I suppose you only need to add sudo to the vcse_server command.
syntax for zsh and bash are by-and-large the same so you can put the same aliases into your ~/.bashrc file.
Thanks for this tutorial, I buy the same zybo and I don't have idea how to make it works.Thanks Again From Argentina
ReplyDeleteHow to login into the casino in 2021
ReplyDeleteHere is how to do this: Step ventureberg.com/ 1. Go to the website. · Click on the “Login” link on the right-hand side. · Click 1xbet korean on the 토토사이트 “Login” button to https://vannienailor4166blog.blogspot.com/ enter a live chat number. nba매니아 · Enter the